Saddle Maintenance 101
Hey there fellow road cyclists! We know how important it is to have a saddle that feels like a cloud beneath us as we conquer those miles. But let’s face it, our beloved saddles can take quite a beating from all the elements and wear and tear. That’s why we’re here to help you out with some saddle maintenance 101! We’ve got your back (or rather, your behind) and we’ll be sharing some essential tips and tricks to keep your saddle in tip-top condition. So, let’s dive in and make sure your next ride is as comfortable as can be!
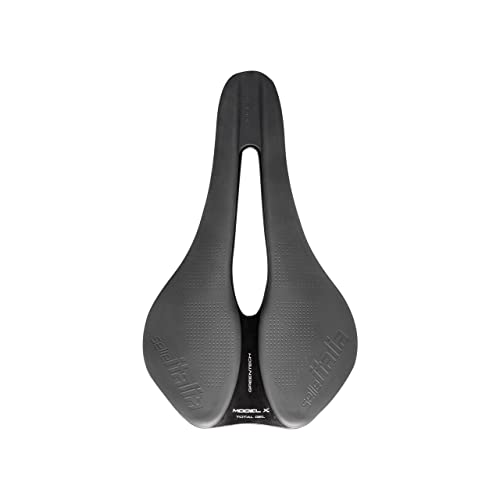
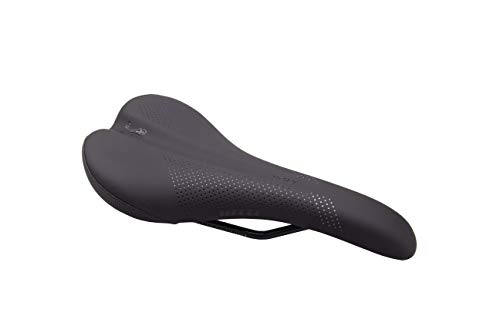
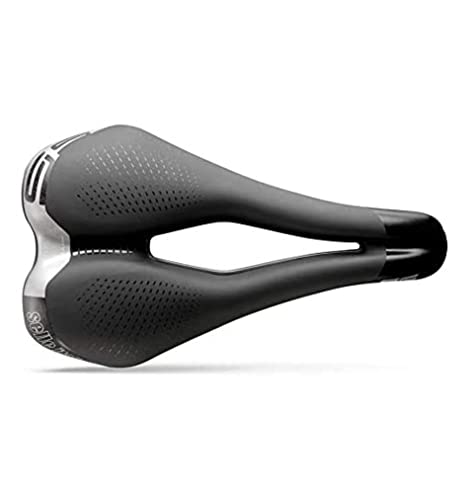
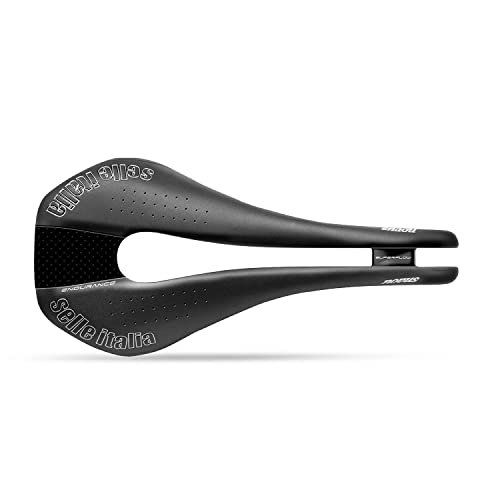
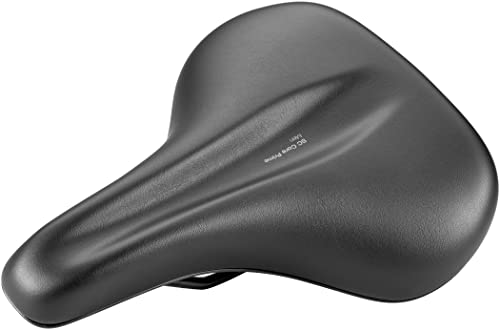
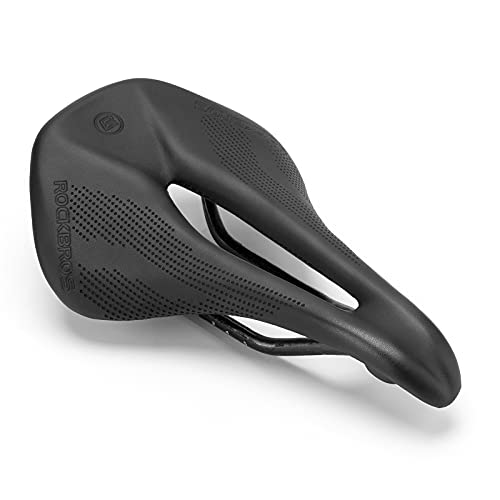
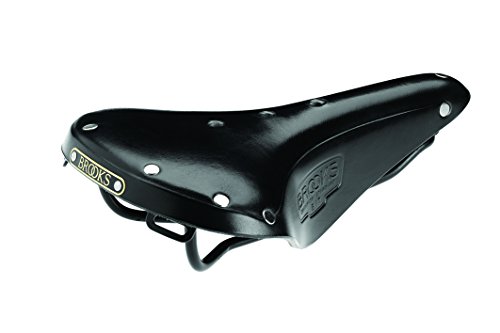
Find the perfect saddle for your road bike adventures


Why is Saddle Maintenance Important?
When it comes to cycling, your saddle is one of the most crucial components of your bike. It is the point of contact between your body and the bicycle, and a well-maintained saddle can significantly enhance your cycling experience. In this blog post, we will explore the importance of regular saddle maintenance, explaining how it can improve your cycling performance, prevent discomfort or injuries, and ensure a more enjoyable ride.


1. Enhances Cycling Performance
A properly maintained saddle can have a substantial impact on your cycling performance. Here’s how:
- Optimal Support: Proper saddle maintenance ensures that the padding and shape of the saddle remain intact, providing the necessary support for your body during long rides.
- Efficient Power Transfer: A well-maintained saddle allows for better power transfer from your body to the bike, enabling you to generate more force with each pedal stroke.
- Comfortable Positioning: Regular maintenance helps to keep the saddle in the correct position, allowing you to maintain a comfortable and efficient cycling posture.
2. Prevents Discomfort and Injuries
Cycling with an ill-maintained saddle can lead to discomfort and even injuries. By maintaining your saddle regularly, you can:
- Avoid Chafing and Saddle Sores: Regular cleaning and conditioning of the saddle can prevent the buildup of dirt and sweat, reducing the risk of chafing and saddle sores.
- Prevent Numbness and Tingling: Proper adjustment of the saddle’s tilt, height, and position can alleviate pressure on sensitive areas, preventing numbness and tingling in your legs and groin.
- Reduce Lower Back Pain: A well-maintained saddle provides proper support to your sit bones, distributing your weight evenly and reducing the strain on your lower back.
3. Ensures a More Enjoyable Ride
Maintaining your saddle goes beyond just performance and comfort; it also contributes to a more enjoyable cycling experience. Here’s how:
- Longevity: Regular saddle maintenance, such as cleaning and conditioning, can extend the lifespan of your saddle, saving you money in the long run.
- Consistency: By keeping your saddle well-maintained, you can ensure a consistent riding experience, as any changes or adjustments will be intentional and controlled.
- Peace of Mind: Knowing that your saddle is in good condition allows you to focus on the ride itself, without worrying about discomfort or potential issues.
Cleaning and Care
Taking proper care of your saddle is essential to ensure its longevity and maintain its appearance. In this blog post, we will guide you through the step-by-step process of cleaning and caring for your saddle. From the necessary tools to the techniques, we’ve got you covered.


Tools You’ll Need
Before we dive into the cleaning process, let’s gather the tools you’ll need:
- Soft brush or sponge
- Mild saddle soap or leather cleaner
- Warm water
- Soft cloth or towel
- Leather conditioner or oil
- Leather protectant or waterproofing spray
- Saddle cover or bag (optional)
Step 1: Removing Dirt and Grime
- Start by removing any excess dirt and debris from your saddle using a soft brush or sponge. Be gentle to avoid scratching or damaging the leather.
- Mix a small amount of mild saddle soap or leather cleaner with warm water in a bucket, following the manufacturer’s instructions. Avoid using harsh detergents or chemicals, as they can strip the natural oils from the leather.
- Dip the sponge or cloth into the soapy water and wring out excess moisture. Gently scrub the saddle in a circular motion, paying attention to areas with stubborn dirt or stains.
- Rinse the sponge or cloth and wring out excess moisture. Wipe off the soap residue from the saddle, ensuring that no soapy water remains.
- Dry the saddle with a soft cloth or towel. Avoid using heat sources like hairdryers, as they can damage the leather.
Step 2: Removing Sweat Buildup
- Sweat can gradually deteriorate the leather, so it’s important to remove sweat buildup from your saddle regularly. After each ride, use a damp cloth to wipe away any sweat on the saddle.
- If the sweat has penetrated the leather and caused discoloration or odor, you may need to use a leather cleaner specifically designed for sweat stains. Follow the manufacturer’s instructions to apply and remove the cleaner, and always test it on a small, inconspicuous area first.
Step 3: Conditioning and Protecting
- Once your saddle is clean and dry, it’s time to condition and protect the leather. Apply a small amount of leather conditioner or oil to a soft cloth and rub it into the saddle in circular motions. This will help restore moisture and suppleness to the leather.
- Allow the conditioner to penetrate the leather for the recommended amount of time, as specified by the product instructions. Wipe off any excess conditioner with a clean cloth.
- For added protection against moisture and stains, consider applying a leather protectant or waterproofing spray. Spray a thin, even layer over the entire saddle, following the product instructions.
- If you’re not planning to use your saddle for an extended period, consider storing it in a saddle cover or bag to protect it from dust, sunlight, and other environmental factors.
Saddle Height and Positioning
When it comes to cycling, one of the most crucial factors that can greatly impact your comfort and performance is the proper adjustment of your saddle height and positioning. In this blog section, we will delve into the significance of getting these aspects right and provide you with practical tips on how to achieve the optimal setup for your bike.

Why Does Saddle Height Matter?
Finding the right saddle height is essential for several reasons. Let’s take a closer look at the key benefits it offers:
- Comfort: A saddle set at the correct height ensures that your weight is distributed evenly across your sit bones, minimizing pressure points and discomfort during long rides.
- Efficiency: Proper saddle height allows for efficient power transfer, enabling you to pedal more effectively and generate more force with each stroke.
- Injury Prevention: Incorrect saddle height can lead to various issues such as knee pain, tendonitis, and lower back pain. By setting the height correctly, you reduce the risk of these injuries.
How to Determine the Correct Saddle Height
To find the ideal saddle height for your bike, follow these simple steps:
- Get on your bike: Start by mounting your bike and securing your feet on the pedals.
- Pedal backwards: Find a wall or have someone hold you steady while you pedal backward.
- Check leg extension: At the bottom of the pedal stroke, your leg should be almost fully extended, with a slight bend in the knee. If your leg is too straight or too bent, adjust accordingly.
Remember, the saddle height is a personal preference, so make sure to experiment and listen to your body to find the most comfortable and efficient position for you.
Saddle Positioning: Finding the Sweet Spot
Besides the height, the positioning of your saddle is equally important. Here are a few pointers to help you achieve the optimal saddle position:
- Level it out: Ensure that your saddle is level or slightly tilted downwards to prevent unnecessary pressure on your wrists and hands.
- Fore-aft adjustment: Find the right balance by adjusting the saddle forward or backward. This will help you maintain a comfortable and efficient pedaling motion.
- Knee over pedal spindle: When the pedal is at its furthest point from you, the center of your knee should align vertically with the pedal spindle. This ensures proper knee alignment and reduces the risk of injuries.
Comparing Different Riding Styles
Different riding styles may require slight adjustments in saddle height and positioning. Here’s a quick breakdown:
- Road Cycling: For road cycling, a higher saddle height is generally preferred to maximize power output and efficiency.
- Mountain Biking: In mountain biking, a slightly lower saddle height allows for better bike control and maneuverability on technical terrain.
- Casual Riding: If you’re more into leisurely rides, a lower saddle height might be more comfortable and practical for frequent stops.
Replacing and Upgrading Saddles
As riders, we know how important a comfortable saddle is for a pleasurable riding experience. Over time, saddles can wear out or no longer meet our specific needs. In this blog post, we will discuss when and why you might need to replace or upgrade your saddle. We will provide tips on selecting the right saddle for your needs and explain how to properly install and adjust a new saddle.


Signs it’s Time for a New Saddle
Before diving into the world of saddle replacement and upgrades, it’s important to identify when your current saddle is no longer serving its purpose. Here are some key signs that indicate it’s time for a new saddle:
- Soreness or discomfort: If you find yourself experiencing discomfort or soreness after each ride, it could be a clear indication that your saddle isn’t providing the necessary support and cushioning.
- Visible wear and tear: Cracked leather, loose stitching, or a worn-out appearance are all signs that your saddle has seen better days.
- Changed riding style or discipline: If you’ve recently switched from trail riding to dressage, for example, your current saddle may not be designed or suitable for your new riding style.
- Changes in your horse’s shape: Horses can change shape due to age, fitness, or other factors. If your horse’s back has significantly changed, your current saddle may no longer fit properly.
Selecting the Right Saddle
When it comes to selecting a new saddle, it’s crucial to consider a few key factors to ensure the best fit and comfort. Here are some important points to keep in mind:
- Riding discipline: Different riding disciplines require specific saddle designs. Dressage, jumping, trail riding, and endurance riding each have their own unique saddle requirements.
- Rider preferences: Consider your personal preferences in terms of seat depth, cushioning, and overall design. What works for one rider may not work for another, so take the time to find a saddle that suits your individual needs.
- Horse conformation: Your horse’s conformation plays a significant role in saddle fit. Understanding your horse’s back shape, withers height, and any specific needs they may have is crucial to selecting the right saddle.
- Professional assistance: When in doubt, seek the help of a professional saddle fitter. They have the expertise to assess both horse and rider and provide valuable guidance in the saddle selection process.
Installing and Adjusting Your New Saddle
Once you’ve found your perfect saddle, it’s important to install and adjust it properly for optimal performance and comfort. Here are some steps to follow:
- Clean and prepare your horse’s back: Make sure your horse’s back is clean, free from dirt, and properly groomed. This ensures a clean surface for the saddle to rest on.
- Place the saddle gently on your horse’s back: Be careful not to drop or slam the saddle onto your horse’s back. Slowly lower it onto the desired position, ensuring it is centered and straight.
- Check the fit: Test the fit of the saddle by running your hand between the saddle and the horse’s back. There should be no tight spots or excessive pressure.
- Secure the girth: Fasten the girth snugly but not too tight. Ensure it is even on both sides and that it provides a secure fit without restricting your horse’s movement.
- Test ride and adjust: Take your horse for a short test ride and pay attention to any signs of discomfort or saddle slippage. Adjust the saddle as needed, ensuring it remains secure and balanced.
Wrapping it Up: The Importance of Regular Saddle Maintenance
In conclusion, taking care of your road bike saddle is crucial to ensure a smooth and enjoyable ride. By cleaning, maintaining, and making necessary adjustments, we can enhance our cycling experience and avoid any unnecessary discomfort. Don’t forget to keep an eye on saddle height, position, and consider upgrades or replacements when needed. Now, let’s hit the road and have a fantastic ride!