How to measure the wear and tear on road tubular tires?
Hey there! In our step-by-step guide titled “How to measure the wear and tear on road tubular tires,” we’re here to help you understand the importance of keeping track of your tires’ condition. We know that road tubular tires can be quite the investment, so it’s essential to take care of them properly. Our guide will show you how to measure the wear and tear on your tires, ensuring that you can ride with confidence and keep your tires in top-notch shape. Let’s get started!
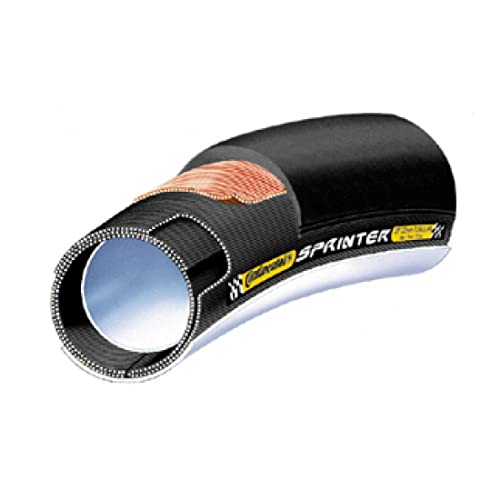
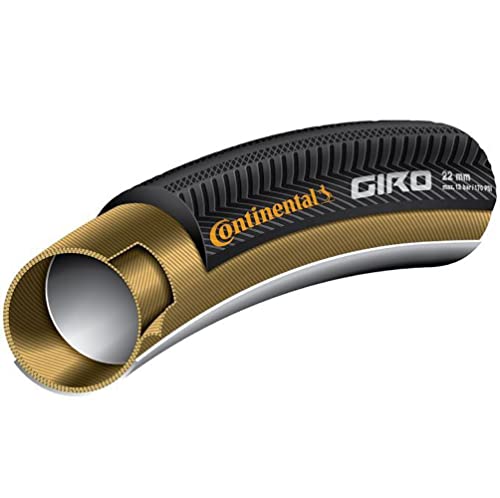
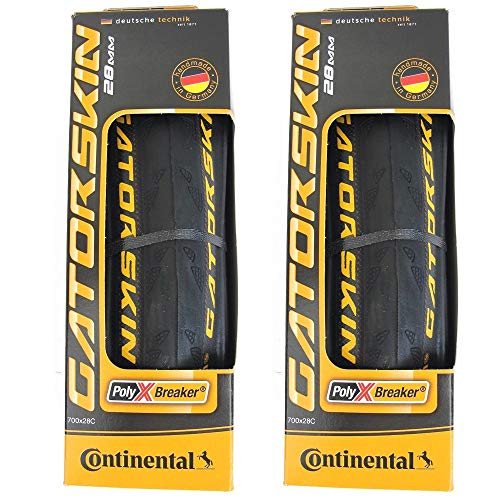
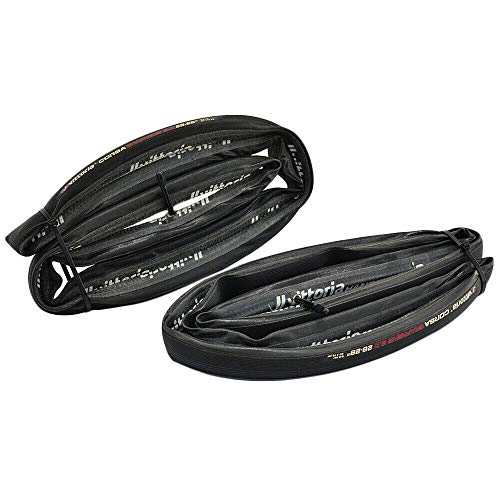
Top-Rated Road Tubular Tires

Step 1: Gather the necessary tools and materials
Before we begin, let’s make sure we have all the tools and materials we need to complete the task at hand. Here’s a checklist of what you’ll need:
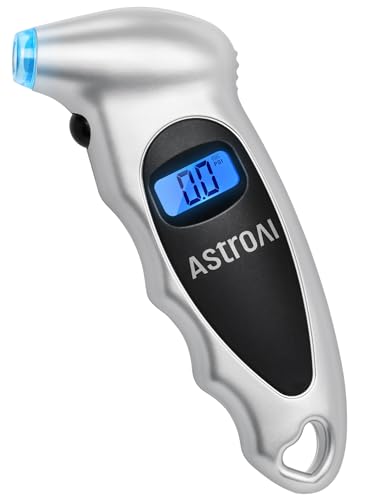
- Tire pressure gauge: This handy tool will help you accurately measure the pressure in your tires.
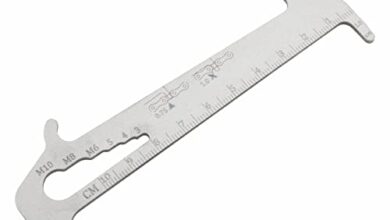
- Caliper or ruler: You’ll need either a caliper or a ruler to measure the tread depth of your tires.
- Marker or tape: Use a marker or tape to mark the areas you’ll be measuring on your tires for consistency.
- Clean cloth: A clean cloth will come in handy to wipe off any dirt or debris from your tires before taking measurements.
Having these tools and materials ready will ensure a smooth and efficient tire maintenance process. So, gather them up and let’s get started!

Step 2: Inspect the tire surface
- Carefully inspect the tire surface for any visible signs of wear and tear. Look for cuts, bulges, or exposed threads.
- Use a marker or tape to mark any areas of concern that you find during the inspection. This will help you keep track of the problem areas.
- Make sure to examine the entire surface of the tire, including the sidewalls and the tread. Pay close attention to any irregularities or abnormalities you come across.
- Take your time during this inspection process to ensure that you don’t miss any potential issues that could lead to tire failure or other safety concerns.
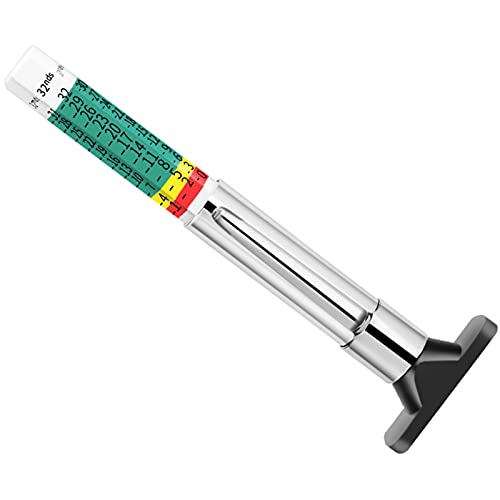
Step 3: Measure the tire tread depth
To measure the tire tread depth, use a caliper or ruler. Place the measuring tool perpendicular to the tread and take multiple measurements at different locations on the tire. Record the minimum tread depth recommended by the tire manufacturer. This will help you determine if your tires meet the required tread depth for safe driving.
Step 4: Check for cracks or dry rot
Inspect the tire sidewalls carefully for any visible cracks or signs of dry rot. These can be indications of the tire’s age or deterioration of the material. Look for any small or large cracks running along the sidewalls, as well as any dry, brittle patches. For example, if you notice deep cracks resembling spiderwebs or areas where the rubber appears to be flaking or peeling off, these are signs of potential trouble. If you come across any of these issues, it may be time to consider replacing the tire to ensure your safety on the road.
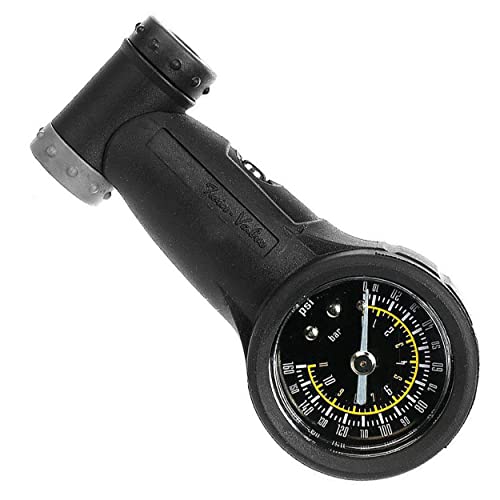
Step 5: Check the tire pressure
To check the tire pressure, grab a tire pressure gauge and measure the air pressure in the tire. Simply press the gauge onto the tire valve stem until you hear a hissing sound and the gauge reading stabilizes. Once you have the measurement, compare it to the recommended pressure specified by the tire manufacturer. Adjust the pressure accordingly, either by adding air or releasing it, to ensure your tires are properly inflated.


Step 6: Evaluate the tire’s overall condition
To evaluate the overall condition of the tire, consider all the gathered information. First, check the tire tread depth using a tread depth gauge or the penny test. Next, inspect for any visible signs of wear and tear, such as cracks, bulges, or cuts. Finally, ensure that the tire pressure is within the recommended range. By carefully examining these factors, you can make an informed assessment of the tire’s overall condition.
Step 7: Determine if the tire needs replacement
To determine if the tire needs replacement, carefully evaluate its condition for excessive wear and tear or any other identified issues. Look for signs such as worn-out tread, bulges, cracks, or punctures. If any of these issues are present, it is recommended to replace the tire to ensure safe driving.
Step 8: Record the measurement results
To record the measurement results, start by making a note of the measurements, observations, and the decision made regarding the tire’s condition. This will serve as a reference for future use. For example, if you measured the tire pressure and found it to be lower than the recommended level, write down the specific measurement, your observation of the tire’s appearance, and the decision you made, such as adding more air to the tire. This way, you can easily track the changes over time and refer back to your previous records when needed.
Step 9: Regular Checks
To regularly recheck the tire condition, start by visually inspecting the road tubular tires for any signs of wear and tear. Look out for cuts, bulges, or excessive tread wear. Next, use a tire pressure gauge to measure the air pressure in each tire, ensuring they are inflated to the recommended level. Finally, take a close look at the tire sidewalls for any cracks or damage. If you notice any issues during this inspection, it’s important to address them promptly to maintain optimal performance and safety.
Wrapping it all up
In conclusion, we have explored the essential steps to measure the wear and tear on road tubular tires. We discussed the importance of regular inspection, focusing on the tread depth and sidewall condition. We also highlighted the significance of using a wear indicator tool to accurately measure the wear limit. Furthermore, we emphasized the need for proper maintenance and care to prolong the lifespan of your tubular tires. By following these guidelines, you can ensure the safety and performance of your tires, ultimately enhancing your cycling experience. Remember, keeping a close eye on your tires’ condition is crucial for enjoying smooth rides and avoiding potential hazards on the road. So, take the time to regularly examine your tubular tires and make informed decisions about their replacement when necessary. Happy cycling!
What You’ll Need


Pro Tips
Getting the Most Out of Your Road Tubular Tires
- Prepare the tire: Before installing the tubular tire, you need to stretch and shape it. Inflate the tire slightly and leave it for a few hours to allow it to take shape. This will make it easier to mount on the rim later
- Glue the tire: Apply a thin layer of tubular glue or adhesive to the rim bed, ensuring even coverage. Let it dry for a few minutes until it becomes tacky. Then, carefully align the tire with the valve hole and press it onto the rim, starting from one side and working your way around. Make sure it sits evenly on the rim
- Inflate the tire: Once the tire is mounted, inflate it gradually using a pump or CO2 cartridge. Start with low pressure and check for any bulges or irregularities. Continue inflating until the tire is firm but not overinflated. It’s crucial to find the right pressure based on your weight, riding conditions, and personal preference
- Maintain and inspect: Regularly check your tubular tires for any cuts, punctures, or signs of wear. Clean them after each ride to remove debris and prevent damage. Use a mild soap and water, avoiding harsh chemicals that can degrade the tire’s materials. Inspecting and maintaining your tires will help ensure their longevity and performance
- Replace when necessary: Tubular tires have a limited lifespan, and they eventually need to be replaced. Over time, the tread will wear down, and the tire may become more prone to punctures. Keep an eye on the wear indicators or consult with a professional to determine when it’s time for a new set of tubular tires
- Remember, using tubular tires requires some practice and patience. If you’re unsure or uncomfortable, it’s always a good idea to seek assistance from a knowledgeable bike shop or an experienced cyclist. Happy riding!
Got questions about Road Tubular Tires? We’ve got answers!
Are road tubular tires more expensive compared to other types of tires?
Yes, road tubular tires are generally more expensive compared to other types of tires. This is because they are designed specifically for high-performance road cycling and are made using a different construction method. Tubular tires have a seamless casing that is stitched around an inner tube, which is then glued directly onto a special rim. This design offers advantages such as lower rolling resistance, better traction, and improved road feel. However, the manufacturing process and materials used in tubular tires contribute to their higher price point. Other types of tires, such as clinchers or tubeless, are more common and easier to produce, resulting in lower costs. Keep in mind that there are varying price ranges within each tire type, so it’s essential to consider factors like brand, quality, and specific features when comparing prices.