How to maintain a secure seatpost position while riding
In this step-by-step guide, we will help you maintain a secure seatpost position while riding. The purpose of this guide is to provide you with practical tips and techniques to ensure that your seatpost remains in place, enhancing your comfort and safety during your rides. By following these steps, you will be able to adjust and secure your seatpost correctly, preventing it from moving or slipping while you ride.
Preventing Seatpost Slippage: Top Tips


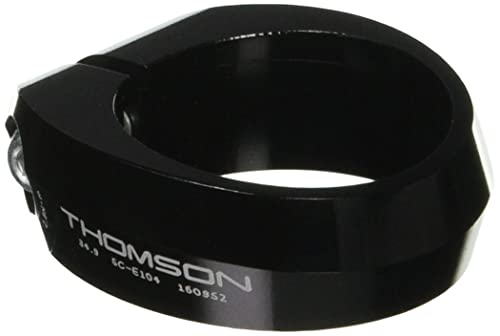
Check the seatpost clamp
To ensure the seatpost clamp is securely tightened, follow these steps:
- Locate the seatpost clamp on your bicycle frame. It is usually located just below the seatpost.
- Using an appropriate torque wrench, tighten the clamp according to the manufacturer’s recommendations. The recommended torque value can usually be found in the bicycle’s user manual or on the manufacturer’s website.
- Make sure to evenly tighten the clamp by alternating between the bolts or screws that secure it. This will help distribute the pressure evenly and prevent any potential damage.
- Once the seatpost clamp is tightened to the appropriate torque, give it a gentle tug to ensure it is secure. If there is any movement or looseness, re-tighten the clamp until it is firmly in place.
Following these steps will help ensure that your seatpost clamp is securely tightened, preventing any potential issues while riding your bicycle.


Clean the seatpost and seat tube
To clean the seatpost and seat tube, follow these steps:
- Remove the seatpost from the seat tube by loosening the clamp or quick-release mechanism.
- Take a rag or brush and thoroughly clean both the seatpost and the inside of the seat tube.
- Use the rag or brush to remove any dirt, debris, or corrosion that may affect the seatpost’s grip.
- Pay special attention to any areas where the seatpost and seat tube come into contact, as these areas are prone to dirt buildup.
- Once both surfaces are clean, inspect them for any signs of damage or wear. If you notice any cracks or irregularities, it may be necessary to replace the seatpost or seek professional help.
- After cleaning and inspecting, reassemble the seatpost back into the seat tube, making sure it is secure and properly tightened.
By following these steps, you can ensure that your seatpost and seat tube are clean and in good condition, allowing for optimal performance and longevity.
Apply carbon grip paste (if applicable)
If you have a carbon seatpost and seat tube, apply a thin layer of carbon grip paste to enhance the friction between the two surfaces. This will help prevent the seatpost from slipping and ensure a secure fit. To apply the carbon grip paste, first, clean both the seatpost and seat tube thoroughly. Then, follow the instructions provided by the paste manufacturer to apply a thin, even layer of the grip paste to the seatpost. Finally, insert the seatpost into the seat tube and adjust it to your desired height.


Grease the seatpost (if applicable)
If you have a metal seatpost and seat tube, apply a small amount of grease to the seatpost before reinserting it into the seat tube. This will help reduce the risk of seizing and make adjustments easier.
- Clean the seatpost and seat tube to remove any dirt or debris.
- Apply a small amount of grease to the lower portion of the seatpost.
- Slide the seatpost back into the seat tube and tighten the clamp to secure it in place.
- Wipe off any excess grease to prevent it from attracting dirt.
Insert the seatpost correctly
To ensure that the seatpost is inserted correctly, follow these steps:
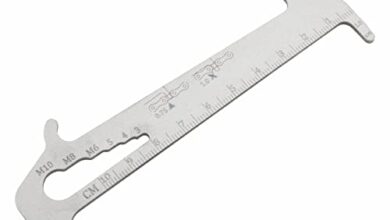
- Check the recommended insertion depth: Look for markings on the seatpost itself indicating the recommended insertion depth. It is usually a minimum insertion line or a maximum height mark.
- Measure the depth: Use a tape measure or any other measuring device to confirm the correct insertion depth. Insert the tape measure into the seat tube until it reaches the desired depth, as indicated by the markings on the seatpost.
For example, if the recommended insertion depth is 200mm, make sure the tape measure reads 200mm when inserted into the seat tube.
By following these steps, you can ensure that the seatpost is inserted to the correct depth, which is essential for proper bike fit and optimal performance.
Tighten the seatpost clamp
To reinstall the seatpost into the seat tube and tighten the clamp securely, follow these steps:
- Insert the seatpost into the seat tube, making sure it is fully inserted and aligned with the desired saddle height.
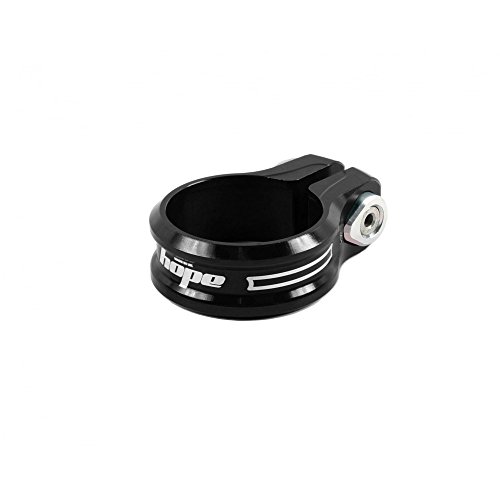
- Locate the seatpost clamp, which is usually a bolt or quick-release lever mechanism.
- Use a torque wrench to achieve the recommended torque specified by the manufacturer. This ensures that the seatpost clamp is tightened to the appropriate level without over-tightening or risking damage.
- If using a bolt, tighten it in a clockwise direction until it reaches the recommended torque. If using a quick-release lever, firmly close the lever until it is secure.
- Double-check that the seatpost is secure and does not move or rotate when pressure is applied.
- Finally, test the stability of the seatpost by sitting on the saddle and gently rocking back and forth. If there is any movement, repeat the tightening process until the seatpost is firmly in place.
Remember, it’s important to follow the manufacturer’s recommendations for torque to ensure a safe and secure seatpost clamp.
Check for slippage while riding
To check for slippage while riding, follow these steps:
- Take your bike for a short ride, preferably on a smooth surface.
- Pay close attention to any signs of seatpost slippage, such as a change in saddle height or a shifting feeling while pedaling.
- If you notice any slippage, stop and ensure that all the bolts on the seatpost clamp are properly tightened.
- Once you have tightened the bolts, take your bike for another short ride to see if the slippage persists.
- If the seatpost still slips, repeat the previous steps, making sure to check for any other possible sources of slippage, such as a worn-out seatpost or a damaged seat tube.
- If the issue persists, it is recommended to consult a professional bike mechanic for further assistance.
Remember, proper maintenance and regular checks can help ensure a safe and comfortable riding experience.
Seek professional assistance (if necessary)
If you have tried everything mentioned earlier and are still unable to maintain a secure seatpost position, it might be time to seek professional assistance. A bike mechanic will have the knowledge and experience to diagnose and fix the issue correctly. They can help determine if there is a problem with the seatpost itself, or if there are other underlying factors causing the instability. For example, they may discover that the seatpost is incompatible with your bike frame or that the seatpost clamp needs to be replaced. By consulting a professional, you can ensure that the problem is resolved effectively and avoid any further damage to your bike.
Key Takeaways for Seatpost Security
In conclusion, maintaining a secure seatpost position is vital for a comfortable and safe riding experience. By following the steps outlined in this guide, including regular maintenance and proper installation, you can ensure that your seatpost stays secure and stable. Remember to regularly check for any signs of wear or damage, tighten all bolts and clamps properly, and consider using additional methods such as carbon assembly paste or torque wrenches for added security. By taking these precautions, you can ride with confidence, knowing that your seatpost will stay in place throughout your journey.
Necessary Equipment


Preventing Seatpost Slippage
Discover 6 Simple Methods for Finding Your Ideal Riding Position
Step-by-step guide to effectively solve a slipping seatpost
- Start by identifying the issue: If you notice that your seatpost is slipping while riding, it’s important to diagnose the problem correctly. Check if the seat clamp is loose or if the seatpost itself is worn out
- Tighten the seat clamp: If the seatpost is slipping due to a loose clamp, use a wrench or an Allen key to tighten it. Make sure to apply sufficient force but be careful not to over-tighten, as this could damage the seat clamp or the frame
- Use carbon assembly paste: If the slipping persists even after tightening the clamp, consider using carbon assembly paste. Apply a thin layer of paste to the seatpost before reinserting it into the frame. This paste helps create friction between the seatpost and the frame, preventing slippage
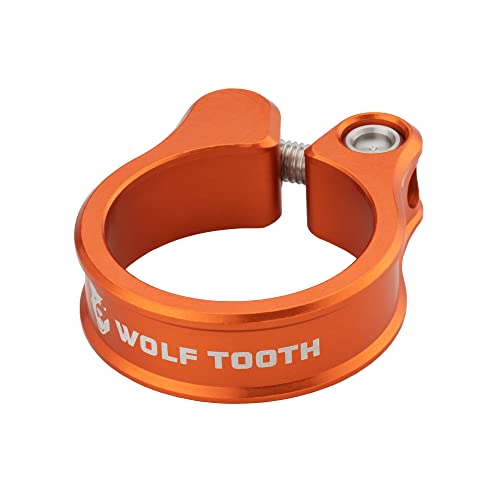
- Consider using a seatpost clamp with a higher torque rating: If the slipping continues even after applying carbon assembly paste, it may be necessary to upgrade to a seatpost clamp with a higher torque rating. This will provide a stronger grip on the seatpost and reduce the likelihood of slippage
- Seek professional help if needed: If you’ve tried all the above steps and the seatpost still slips, it may be time to take your bike to a professional bike shop. They have the expertise and specialized tools to diagnose and fix more complex issues with seatposts, ensuring your safety and riding comfort
Troubleshooting Tips for a Slipping Seatpost
Have you considered using carbon assembly paste to increase friction between the seatpost and frame?
Yes, using carbon assembly paste is a commonly recommended practice to increase friction between the seatpost and frame. This paste is specifically designed to create a better grip between carbon components, preventing slippage and ensuring a secure fit. When applied correctly, carbon assembly paste can help eliminate any potential damage caused by over-tightening the seatpost clamp. It is important to follow the manufacturer’s instructions for proper application and to only use it on carbon components, as it may not be suitable for other materials like aluminum or steel.